Are you tired of how mundane your days seem? Spice up your life with the challenge of assembling a DIY tech kit Solar Dinobot! This pastime project is a rewarding way to sharpen your problem-solving skills while providing immense satisfaction after completion. Not to mention, the utilization of solar energy allows for an environment-friendly companion.
To begin this project, you’ll need to acquire the necessary pieces. Make sure you have a solar panel, motor, batteries, wires, screws, and an assortment of other components to construct your dinobot. These items can be easily found at the nearest toolshed or on the internet.
With all the necessary materials in place, you can now begin constructing your beloved dinobot. Start by connecting the four corners of the frame using screws. You can utilize either a drill or screwdriver for this particular step in the building process. After you have secured the frame, it’s time to add the motor, solar panel and any other essentials.
After you’ve got all the pieces positioned as desired, the actual electric wiring comes into play. For those who don’t have prior experience with these things, it might be best to pick up a comprehensive guidebook or tune in to some online tutorials. With the wiring safely and properly done, you can now commence experimenting with your robotic creation.
With all the technical works done, you can now give your trusty robot some delightful character! Why not add a few stickers or stripes of eye-catching colored tape? If you’re feeling particularly creative, painting its body could bring out gusto in its design. On top of that, why not name it in a way that reflects its personality?
With construction complete and your robot ready to go, the next step is to harness the energy of the sun to get it moving. When the solar panel is exposed to sunlight, it will take that power and turn it into electricity, which will subsequently activate the motor and get your robot in motion.
Now that your dinobot is up and running, you can use it in all kinds of exciting ways. Maybe get it running around and following instructions, or even enter it into some robotic races — whichever you choose, your dinobot ensures a great time.
Take your skills to the next level with a DIY Solar Dinobot tech kit! Gather the materials, use your creativity, and you too can construct a unique robot of your own. Unleash your inner scientist and join the robotic revolution!
Step Up Your Game with the DIY Tech Kit Solar Dinobot!
Want to get your kids excited about engineering, science, and technology? There’s a perfect way to do it: the DIY tech kit solar dinobot. It’s simple to assemble without any complicated tools or soldering, and no coding required. Just locate a screwdriver – plus some items from around the house – and you and your children can quickly create your own robot, under instruction from an easy-to-follow instructional manual. The fun and educational benefits of this activity make it a winner for parents and kids alike.
Before moving ahead with your project, it is essential that you source the components for your mini robot. The list of items you’ll require for your creative task includes a solar panel, two diminutive solar motors, two AA batteries, four solar cell holders, four segments of plastic tubing, four minor screws, two pieces of velcro, and a set of small gears. Don’t forget to grab a few additional miscellaneous things as well for the perfect finishing touches! With all these components acquired, you can now embark on building your dino-toy.
For your dinobot to start taking shape, you’ll first need to secure the solar cells onto the solar panel. Get your four holders and plastic tubing ready—pressing them to the cells in order with no room for error. Then to make it functional, attach both the tiny solar motors to the panel. When sunshine hits the contraption, it’ll be running around in no time!
In order to ensure that the robot can operate regardless of sunlight, attach the two AA batteries to the solar panel. This will provide necessary power. Furthermore, secure the tiny gears onto the solar motors in order to allow the robot movement in multiple directions.
Once everything is securely in place, fasten two patches of velcro to the solar panel. Doing so will ensure that the robot stays intact when not in use. Lastly, attach the remaining plastic tubes to the solar panel for extra balance and increased mobility.
Your robotic assembly process is complete, and it’s time to start having some fun! Bathed in sunshine, the solar panel will send your bot into motion. You may also modulate its movements by adjusting the cogs of the electric motors.
Need to keep the kids engaged? Look no further than a DIY tech kit solar dinobot! It’s an amazing way to bond with your family and also help your children develop their property. Assemble your robot in easy steps, utilizing products around your home. Your kids will have tremendous fun constructing their own toy—while simultaneously acquiring a breadth of knowledge. Don’t delay! Get your gear, get creative, and build those futuristic dinobots now!
Post time: 2023-08-05
Related Product
PV bracket tracking system
Ground tracking photovoltaic support Fully adapt to 210 major components The product has been tested in CPP wind tunnel Use AI algorithm to optimize tracking mode Irregular land is […]
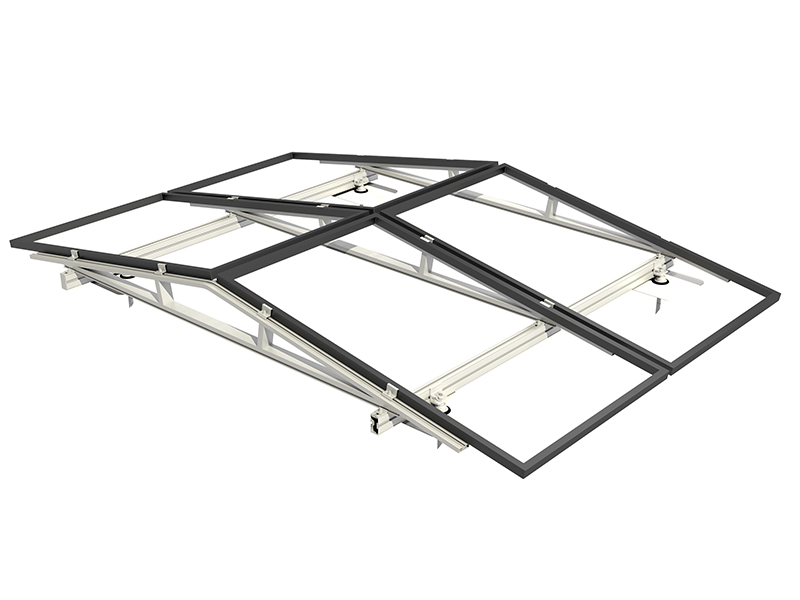
Inclined roof photovoltaic support
V support system for inclined roof The inclined roof installation system is suitable for all kinds of inclined roofs. According to the roof bearing capacity and waterproof requirem […]
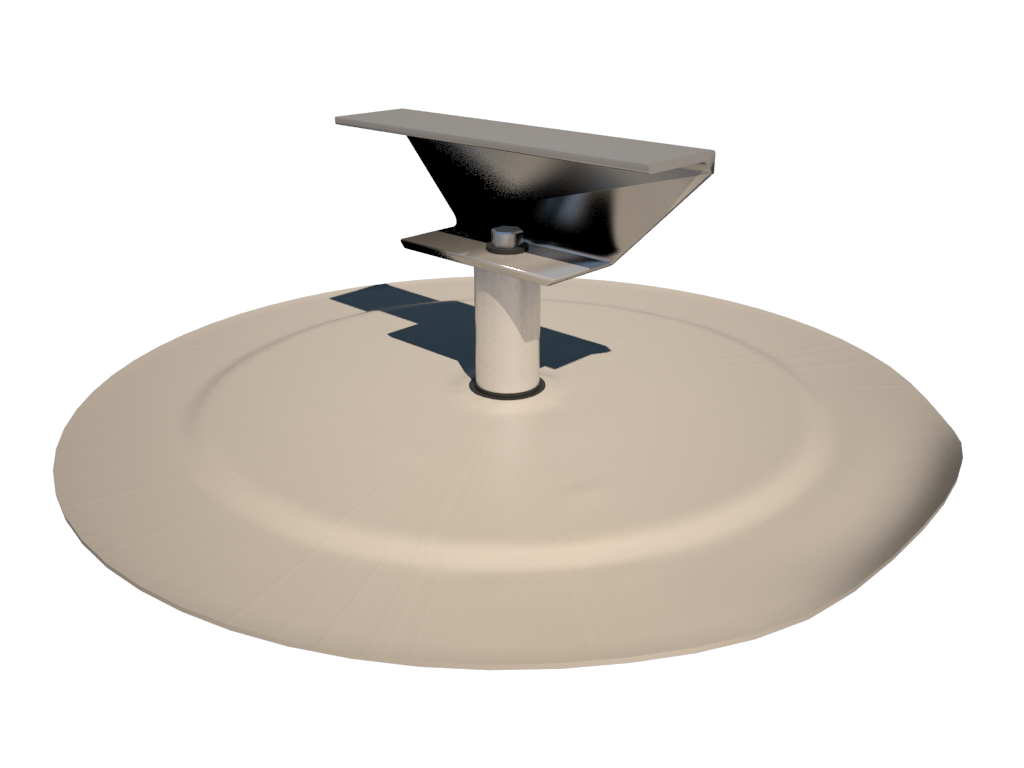
Flat roof photovoltaic support
Flat roof photovoltaic support Analysis of installation and construction problems of flat roof photovoltaic power station The external roof system on the roo […]
PV bridge support
Features of PV bridge support products: Strong resistance to negative wind pressure, good stability, strong bearing capacity and strong lateral tensile capacity; Easy and fast ins […]
Solar panel
PV Kits for fields, flat and pitched roofs The kit using photovoltaic support system is critical to photovoltaic support, including wind calculation speed, order picking speed and […]

PV support KITS
What is Cable conduit? A metal protective tube with certain mechanical strength laid on the outer layer of the cable to prevent the cable from being damaged Cable threading […]
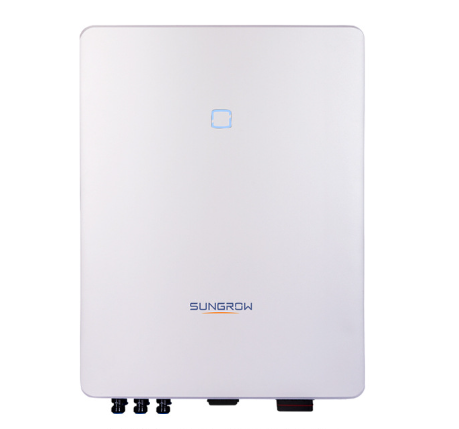
PV inverter
PV inverter (PV inverter or solar inverter) can convert variable DC voltage generated by photovoltaic (PV) solar panel into AC inverter of mains frequency, which can be fed back to […]
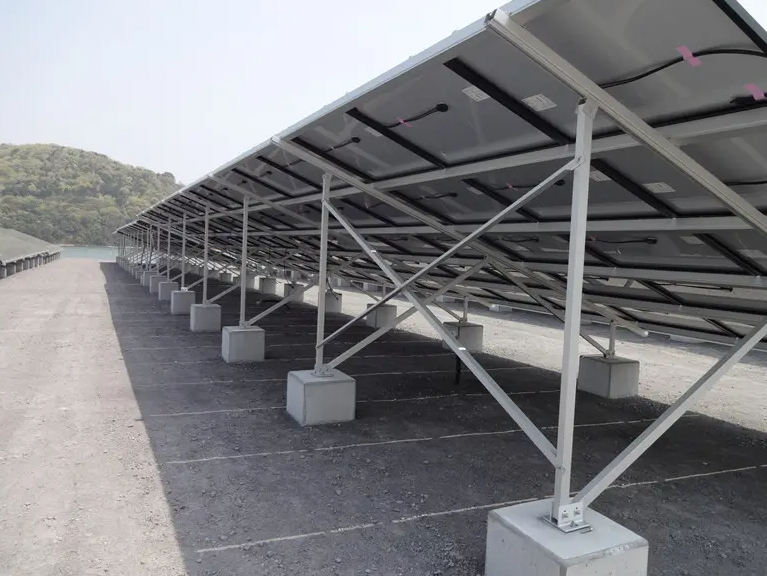
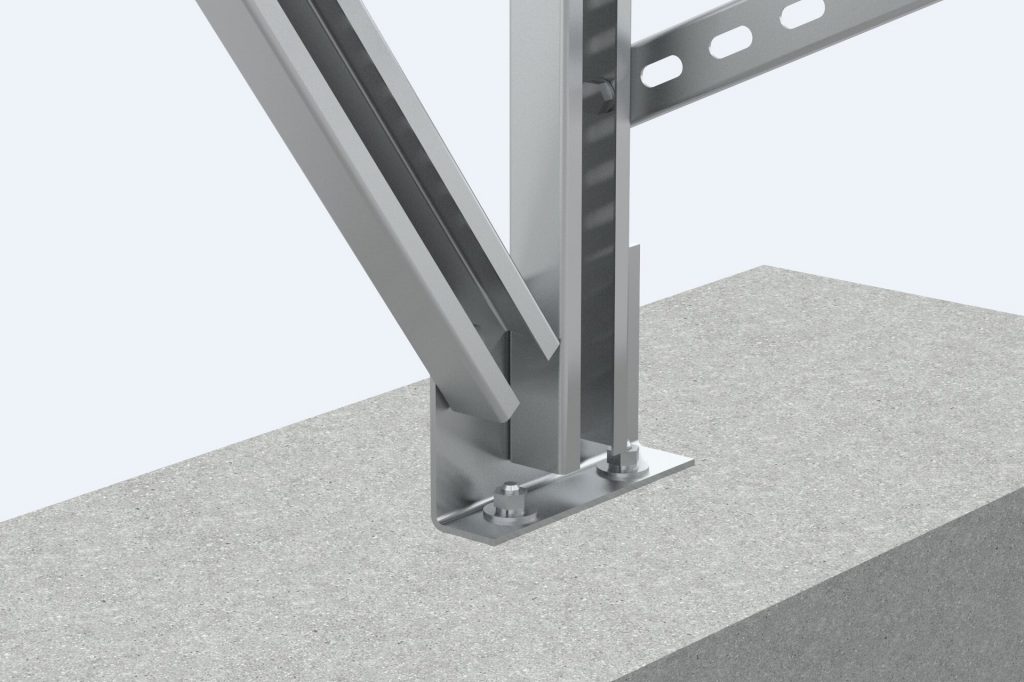
GROUND MOUNT PV Support
Placement position Ground Applicable component type Framed or frameless solar panels of various sizes Raw materials of support aluminium alloy Installation angle According t […]
