If you desire to make your home theater experience even more satisfying, or need the perfect solution to upgrade your Solo 5 TV sound bar, the Solo 5 Wall Mount Kit may be the answer. With its modern design, you can have the sound bar located in the optimal spot for you – be it up high on the wall, to make sure every corner is filled with vibrant audio, or down low for an unobstructed view of your television screen.
In no time at all, the Solo 5 Wall Mount Kit provides you with the necessary equipment to have your Solo 5 sound bar beautifully mounted on the wall. An inclusive set of easy-to-follow instructions accompanies the kit, taking the guesswork out of the installation and ensuring that in half an hour or less – your sound bar will look amazing and sound even more impressive.
Wondering if the Solo 5 Wall Mount Kit is your go-to home theater solution? Check out the following to see if it hits the mark. We’ve broken down all the details about the kit, as well as specifics on installation. By the end, you’ll have a better understanding of whether this hardware is ideal for your setup.
Uncovering the Contents of the Mystery Box
For mounting your Solo 5 sound bar onto the wall, the Solo 5 Wall Mount Kit is your perfect solution! In it, you will find a range of essential items that make its installation easy and effortless. These include:
Mounting Your World with 2 Wall Brackets
Secure Your Walls with 4 Anchors!
Built from metal and boasting a jet-black powder-coat finish, these wall brackets are tailored to be used with the Solo 5 sound bar. Installation is easy, as the necessary screws and wall anchors are included in the box.
Your Solo 5 needs to be correctly mounted on the wall for optimal sound – luckily, the level and template provided ensure that your speaker can be affixed correctly with ease! The super-adhesive level can simply be attached near the top of the sound bar, then you can trace the cardboard template to mark the necessary screw holes. Accurate mounting has never been so effortless!
Installing the Wall Mount Kit: A Step-by-Step Guide
The Solo 5 Wall Mount Kit can be fitted in no time, making sure you can get back to your usual tasks within 30 minutes. Start with the template to identify the holes for the screws, then use the wall anchors that come with the kit to drill into the wall. Finish it off by fastening the wall brackets firmly in their spot.
With the provided screws, firmly attach the Solo 5 sound bar to the brackets. Now, make sure your sound bar is hanging level with the assistance of your level tool. You have now surpassed the final step! You can now bask in the pleasure of your newly-installed Solo 5.
Enhance the appeal and performance of your Solo 5 sound bar by installing the convenient Wall Mount Kit. It not only makes a stylish statement, but also ensures you can place the sound bar in the exact spot that fits your requirements. Whether you seek a new way to upgrade your home theater system, the Solo 5 Wall Mount Kit is an ideal choice for you.
Post time: 2023-06-24
Related Product
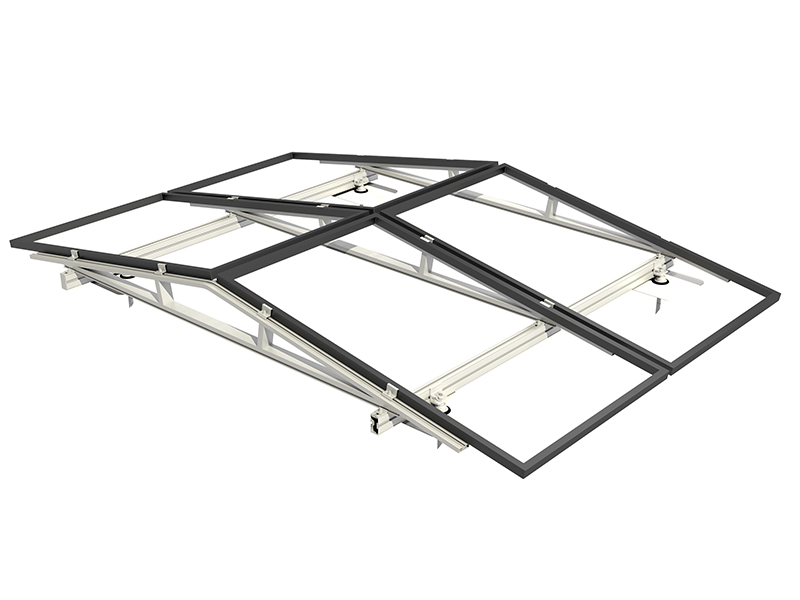
Inclined roof photovoltaic support
V support system for inclined roof The inclined roof installation system is suitable for all kinds of inclined roofs. According to the roof bearing capacity and waterproof requirem […]
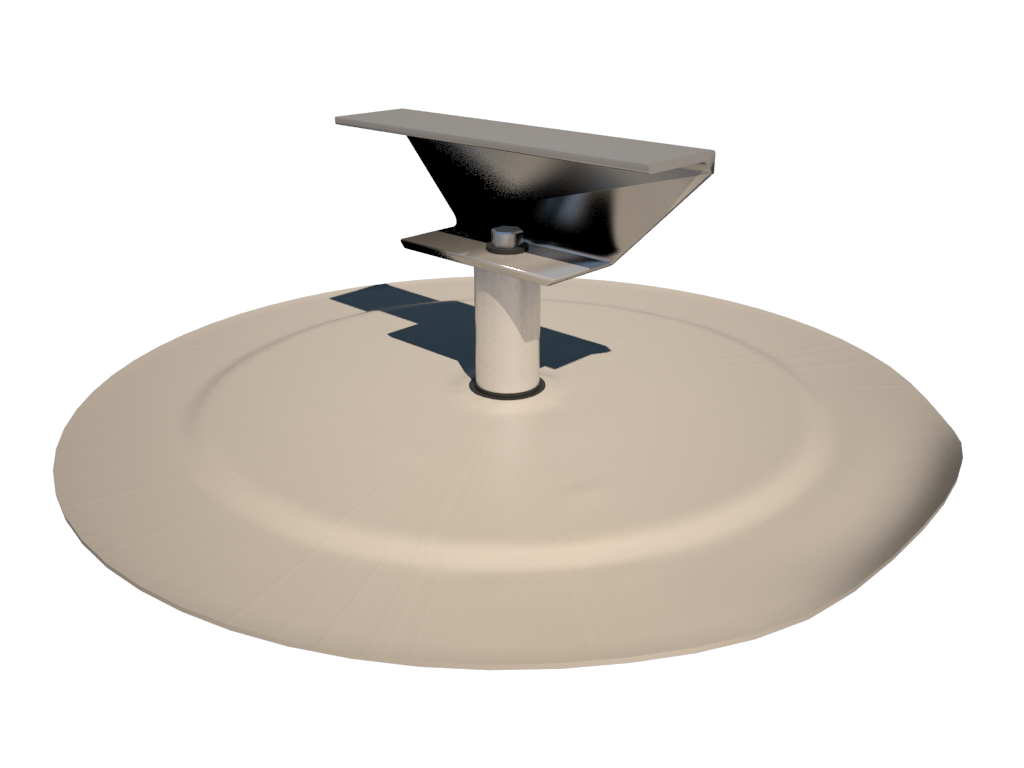
PV bridge support
Features of PV bridge support products: Strong resistance to negative wind pressure, good stability, strong bearing capacity and strong lateral tensile capacity; Easy and fast ins […]
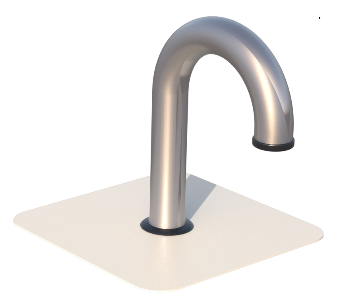
PV support KITS
What is Cable conduit? A metal protective tube with certain mechanical strength laid on the outer layer of the cable to prevent the cable from being damaged Cable threading […]
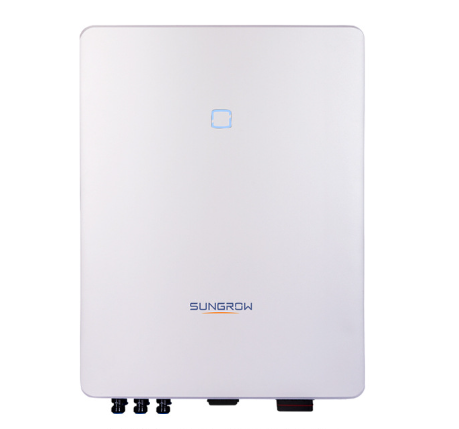
PV inverter
PV inverter (PV inverter or solar inverter) can convert variable DC voltage generated by photovoltaic (PV) solar panel into AC inverter of mains frequency, which can be fed back to […]
Solar panel
PV Kits for fields, flat and pitched roofs The kit using photovoltaic support system is critical to photovoltaic support, including wind calculation speed, order picking speed and […]
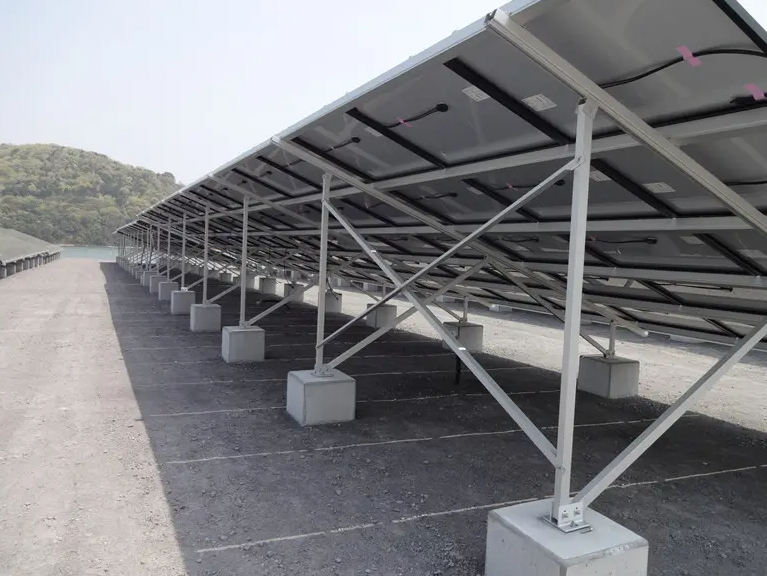
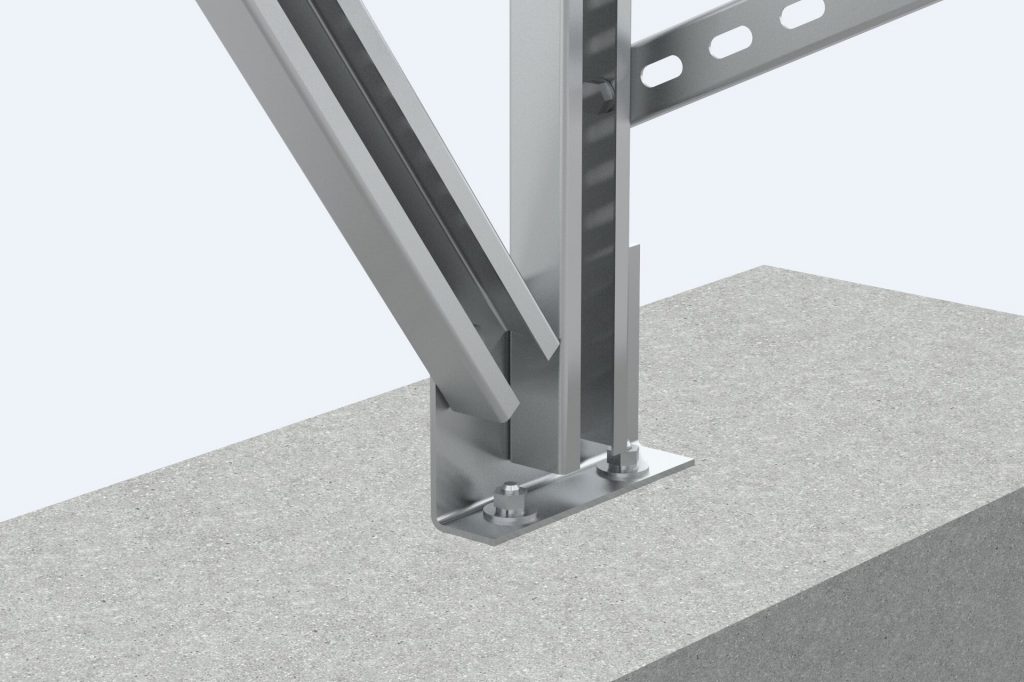
GROUND MOUNT PV Support
Placement position Ground Applicable component type Framed or frameless solar panels of various sizes Raw materials of support aluminium alloy Installation angle According t […]
Flat roof photovoltaic support
Flat roof photovoltaic support Analysis of installation and construction problems of flat roof photovoltaic power station The external roof system on the roo […]
PV bracket tracking system
Ground tracking photovoltaic support Fully adapt to 210 major components The product has been tested in CPP wind tunnel Use AI algorithm to optimize tracking mode Irregular land is […]
