Growing recognition for the need to use renewable energy sources that won’t damage the environment has sparked a surge in interest for solar energy. To tap into this clean energy source, more and more people are building solar power kits designed to generate electricity in homes and businesses. These convenient kits come complete with all the components needed to construct and implement your very own solar panel – a perfect solution for anyone eager to reap the benefits of this powerful renewable resource.
With the desire to access solar energy becoming increasingly popular, the 6 in 1 solar kit proves itself to be one of the most trusted and sought-after options among those who don’t possess extensive technical knowledge. Containing photovoltaic cells, frames, glass, wiring, and additional components, this kit provides instruction on all of the necessary steps involved with constructing your own solar panel. Learn how to generate your own supply of solar energy with the help of this comprehensive kit!
With the 6 in 1 kit, getting the frame of the solar panel set up is a cinch. All that’s needed is to screw the included metal frame together, and the foundation for your panel will be all in place. After that, mounting the pre-wired photovoltaic cells are a breeze with the supplied screws. All that’s left to do is snap them onto the frame and you’re all set.
The final step in the assembly process is to bolster the cell components with a protective glass layer. This reflective sheeting guards against damage, allowing for the cells to be exposed to the maximum amount of sunlight. To secure the glass, all that is required are the screws and washers provided with the kit.
Once the glass is secured, it is time to start wiring up the photovoltaic cells. All you need to do is link the cells up to the solar charge controller – this clever device converts solar energy into usable electricity. Ensure you complete this step according to the particulars outlined in your installation kit.
Finally, you need to link the controller to the battery and plug the battery into the inverter. This inverter is what turns the energy from the battery into something useful – electricity that powers all your appliances. Make sure you follow the instructions that came with the kit for how to correctly wire it together.
Following a thorough wiring procedure, your solar panel is now ready to be activated in the sun. To ensure optimal efficiency, pick a spot that receives sunlight directly. As well, don’t forget to do regular check-ups to make sure that all the components of the system remain in great condition.
With some basic supplies and simple instructions, constructing a 6-in-1 solar kit creates a worthwhile and gratifying experience. One can assemble their own solar panel within hours of starting the project and, if set up properly, be able to benefit from an extended period of energy generated from a renewable and non-polluting source.
With more individuals interested in solar energy as an alternative to conventional sources, some may be curious about constructing their own solar kit. Taking on this recreational project can be both gratifying and cost-saving, so to get the best out of the sun’s free nourishment, here is a step-by-step guide on how to build your own 6 in 1 solar kit.
What’s in the Box: An Introduction to Solar Kit 6 in 1
This all-encompassing 6 in 1 solar kit provides the means necessary for setting up a solar energy installation. From the solar panel to the wiring, this package comes equipped with the elements to bring electricity harvesting to life. As the sun’s energy is collected, harnessed and stored in the battery, a charge controller prevents an overflow of power while an inverter transforms it into something usable for small devices. Assembling the setup includes securing the solar panel in place with specialist materials and interconnecting it to the other components within the kit by means of wiring.
Necessary Tools and Supplies for the Job
You are well-equipped to tackle this project if you make sure you’ve rounded up the correct components and equipment. Have a screwdriver, drill, wrench, ladder, and level at the ready. As the finishing touch, be sure you have a solar kit 6-in-1 equipped with all you need to get you started: a solar panel, battery, charge controller, inverter, mounting hardware, and wiring.
Crafting a Home-Based Solar System
To get the solar panel up and running, the initial move would be to get it into position. Employing a level to doublecheck that the panel is upright is advised prior to attaching it to either a wall or roof with a set of screws. Then, the final phase in this process involves wiring the device to a charge controller.
Joining the Batteries
To power up your setup, you must link the battery to the charge controller. This will guarantee that the battery is sufficiently charged. Make sure to join the battery’s positive and negative anchoring points to the matching terminals on the charge controller. When that’s done, use the cables to interlock the charge controller and the inverter.
Establishing an Inverter Connection
To finish off, the inverter needs to be connected up to the other components of the kit. First, attach the positive and negative terminals of the inverter to their matching terminals on the charge controller and make sure the link is secure. Afterwards, thread the wire between the inverter and battery to make their connection.
Assessing the Program
With all the required parts affixed in place, the moment of truth had arrived: time to check if the system would work. First, the inverter was switched on and closely monitored to verify that it operated correctly. After, the solar panel was activated to ensure electricity production was functioning. Ultimately, the battery was switched on to ascertain that it was correctly charging. Provided that all these steps indicated satisfactory results, the system could be used with confidence.
Crafting your personalized solar kit 6 in 1 could be a great method for cutting the expenditure on energy costs while diminishing the use of conventional sources. With the guidelines noted here, you can assemble your own solar kit and embrace the free energy radiating from the sun without difficulty.
Post time: 2023-08-06
Related Product

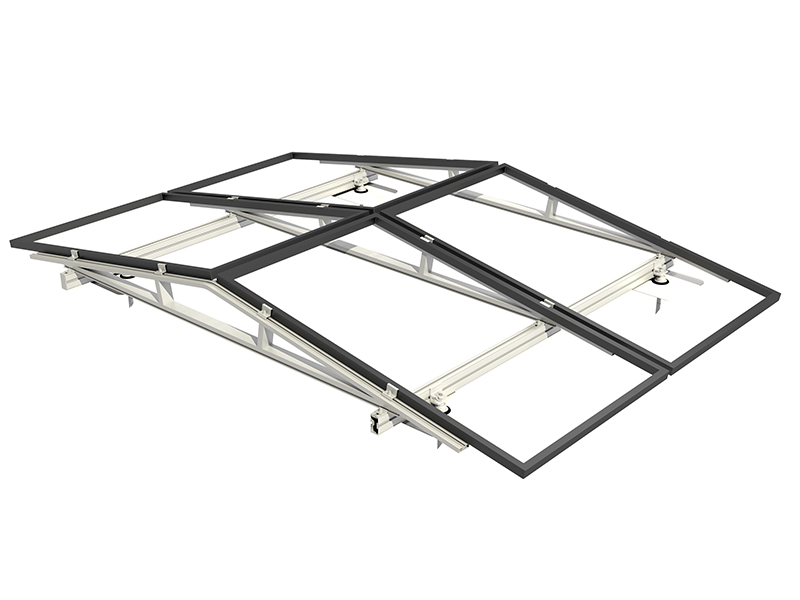
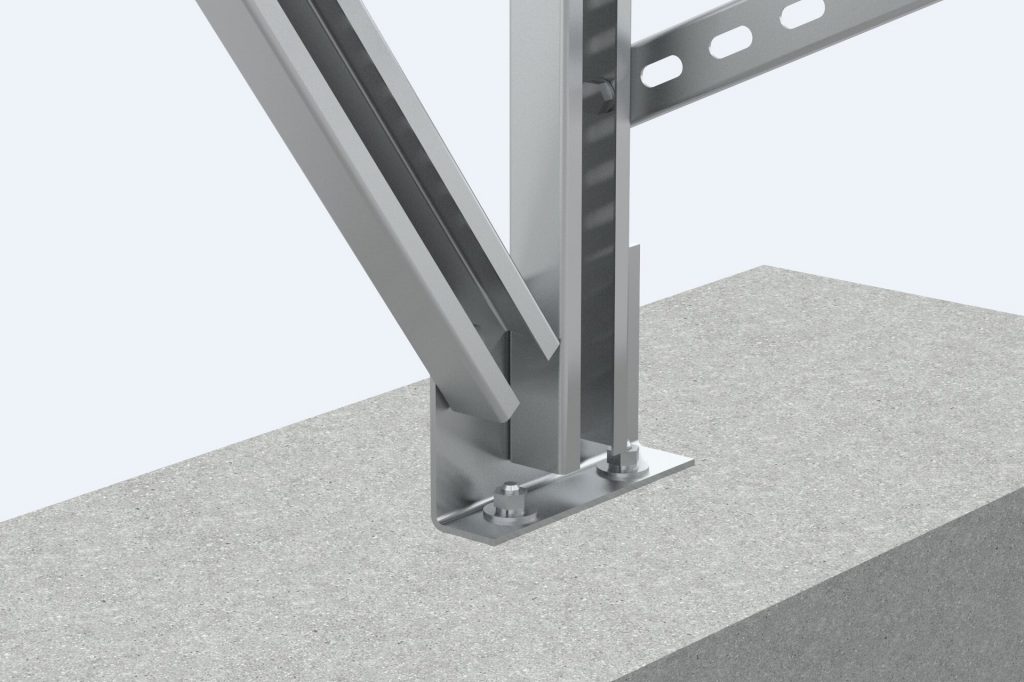
PV support KITS
What is Cable conduit? A metal protective tube with certain mechanical strength laid on the outer layer of the cable to prevent the cable from being damaged Cable threading […]
Inclined roof photovoltaic support
V support system for inclined roof The inclined roof installation system is suitable for all kinds of inclined roofs. According to the roof bearing capacity and waterproof requirem […]
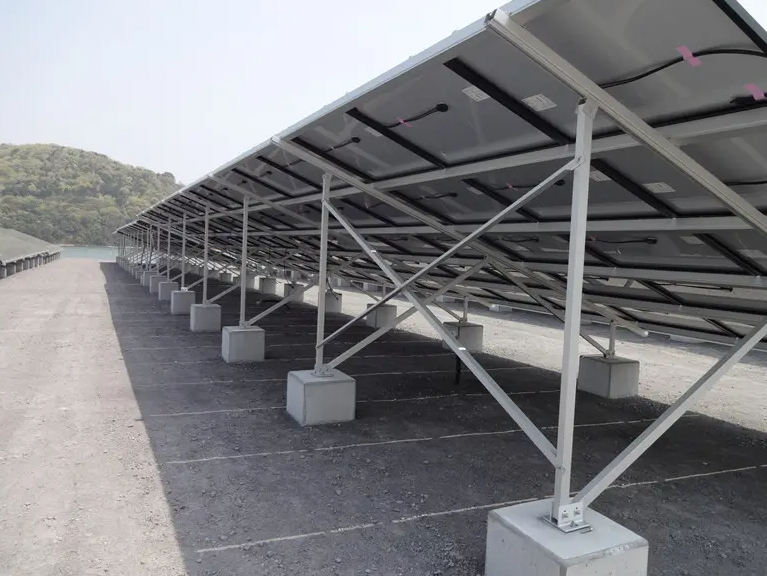
PV bracket tracking system
Ground tracking photovoltaic support Fully adapt to 210 major components The product has been tested in CPP wind tunnel Use AI algorithm to optimize tracking mode Irregular land is […]
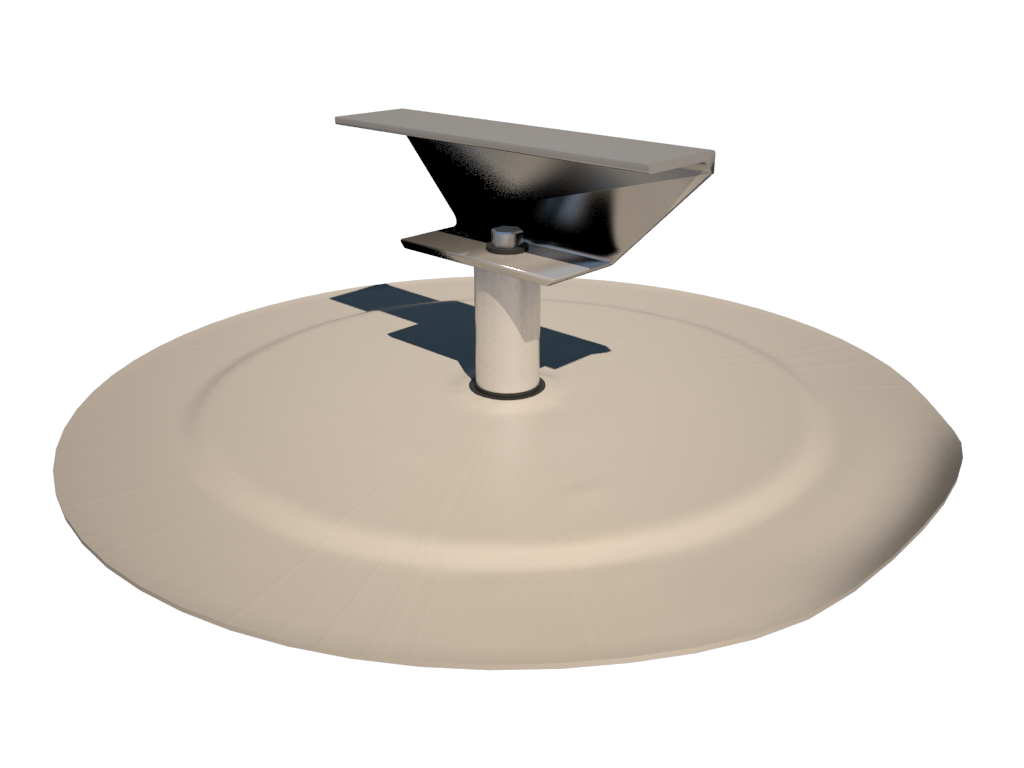
GROUND MOUNT PV Support
Placement position Ground Applicable component type Framed or frameless solar panels of various sizes Raw materials of support aluminium alloy Installation angle According t […]
PV bridge support
Features of PV bridge support products: Strong resistance to negative wind pressure, good stability, strong bearing capacity and strong lateral tensile capacity; Easy and fast ins […]
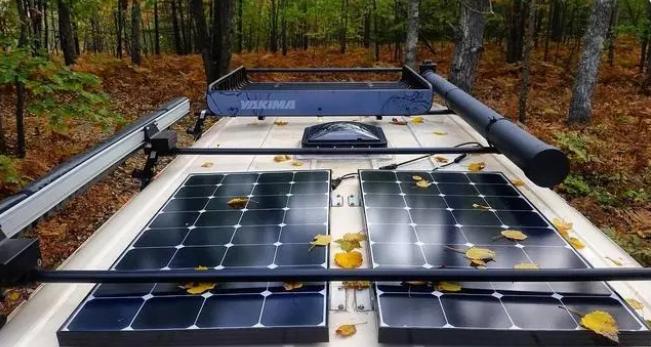
Solar panel
PV Kits for fields, flat and pitched roofs The kit using photovoltaic support system is critical to photovoltaic support, including wind calculation speed, order picking speed and […]
Flat roof photovoltaic support
Flat roof photovoltaic support Analysis of installation and construction problems of flat roof photovoltaic power station The external roof system on the roo […]
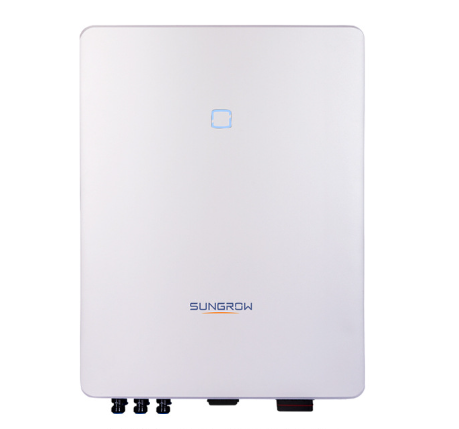
PV inverter
PV inverter (PV inverter or solar inverter) can convert variable DC voltage generated by photovoltaic (PV) solar panel into AC inverter of mains frequency, which can be fed back to […]
